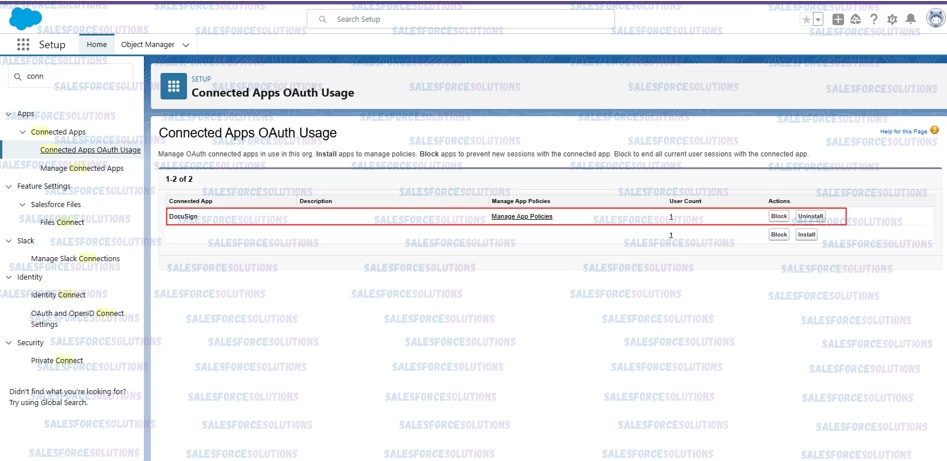
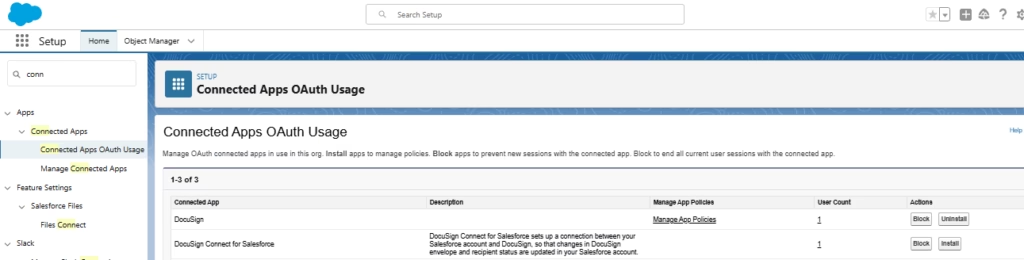
- First, Type ‘Connection’ (conn will also do) on the quick find search box, then, click on ‘Connected App OAuth Usage‘. And finally, you’ll see the following screen (This is a validation step):
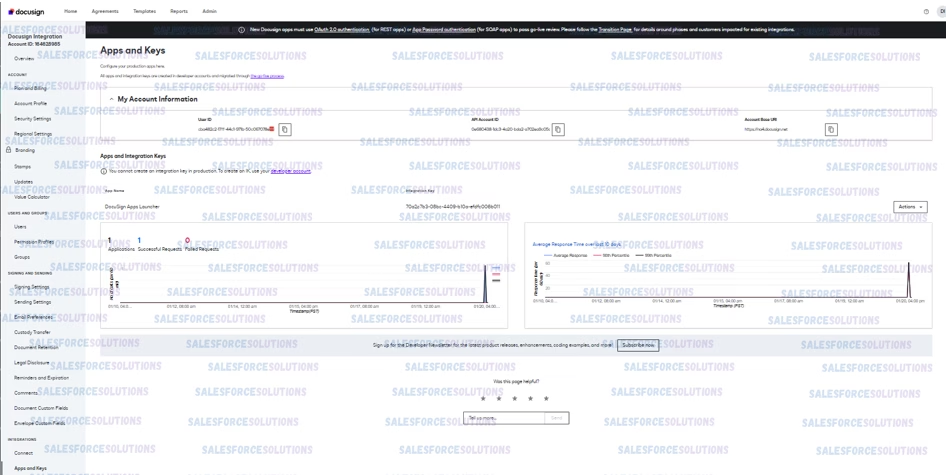
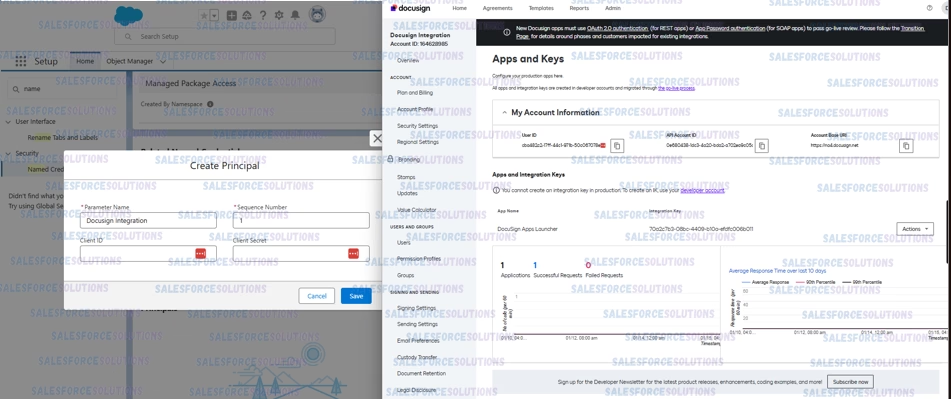
2. Now, from the Admin Tab, on your DocuSign account, search the ‘Apps and Keys’ tab (below the previously used Connect). Once you click on it, you’ll see the following screen:
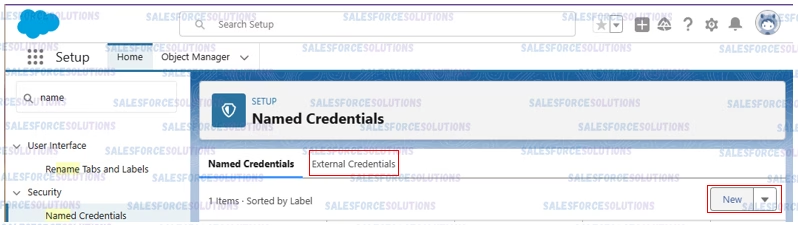
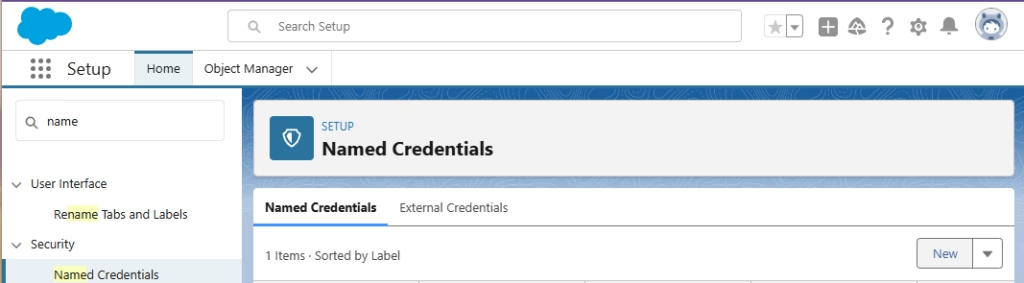
3. Back in Salesforce, type ‘Name’ in the quick find search box and then select ‘Named Credential’, on which section, you’ll select the ‘External Credential’ and finally, click on ‘New’.
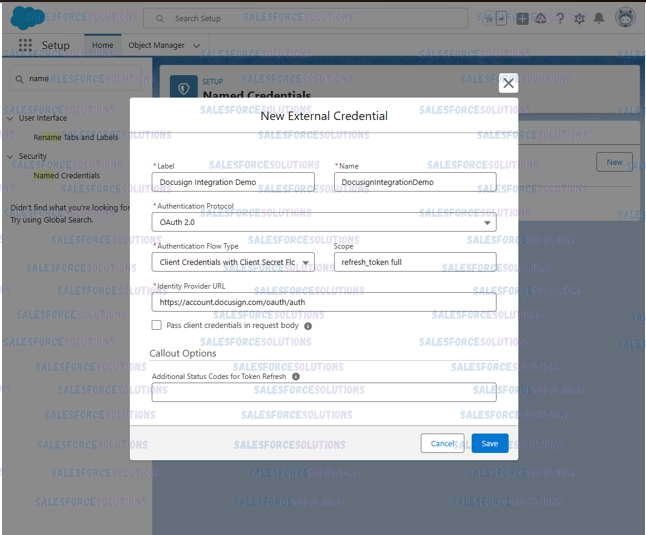
4. Now, you’ll see a modal, where you need to enter some values.
– Label and Name: Provide Meaningful Names.
– Authentication Protocol: OAuth 2.0
– Authentication Flow Type: Client Credentials with Client Secret Flow.
– Scope: refresh_token full <= copy and paste these, exactly as provided.
– Identity Provider URL: https://account.docusign.com <= only if your DocuSign environment is Production, if its a development sandbox, use https://account-d.docusign.com.
the checkbox to pass credentials in request body, should remain unchecked, and no value is needed on the Additional status codes for token refresh.
Once you click on ‘Save’ scroll down and Click on ‘New’ on the Principals section.
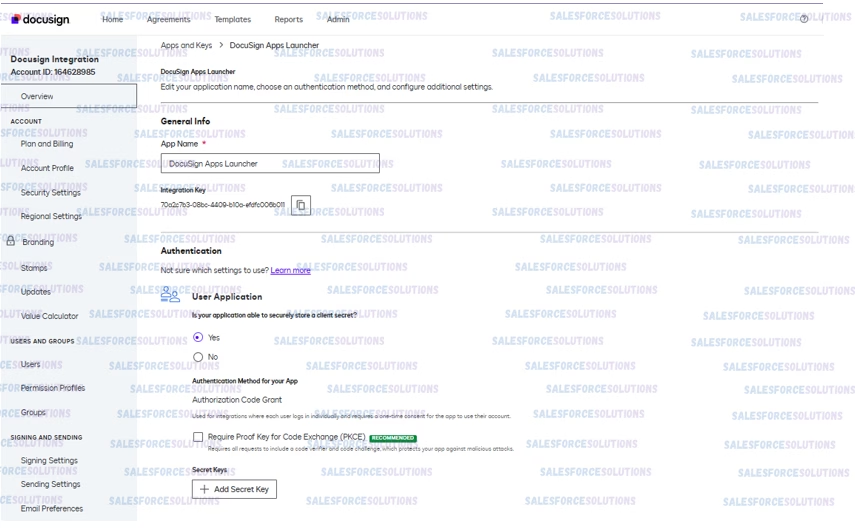
6 .Open your DocuSign account, and then navigate to the ‘Admin’ menu to select the ‘Apps and Keys’ section. To enhance clarity in our explanation, we have placed the screens side by side. Next, click on the ‘Actions’ button in the ‘DocuSign App Launcher’ row. After that, select the ‘Edit’ option to proceed.
7. Your DocuSign App Edition screen should look similar to this:
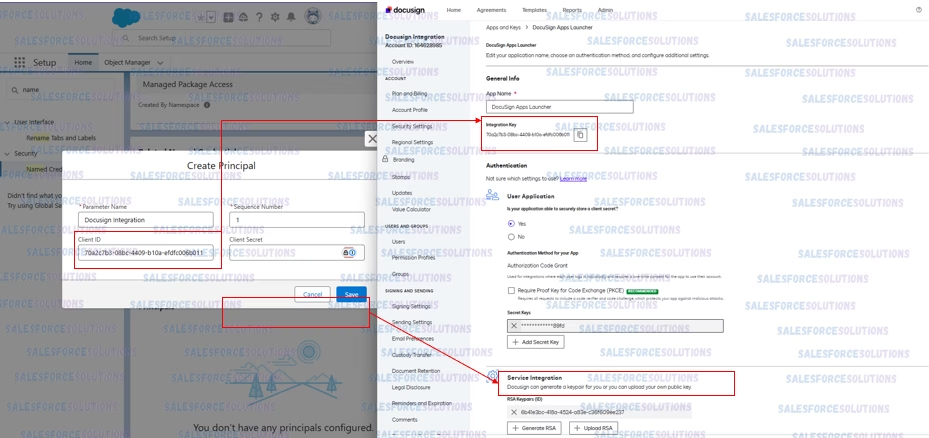
8. When you create the ‘Named Credential’ principal, first enter the ‘Integration Key’ from the DocuSign app that you opened in the previous step. Additionally, make sure to delete the preexisting secret key; otherwise, you will not be able to view or copy the entire value.
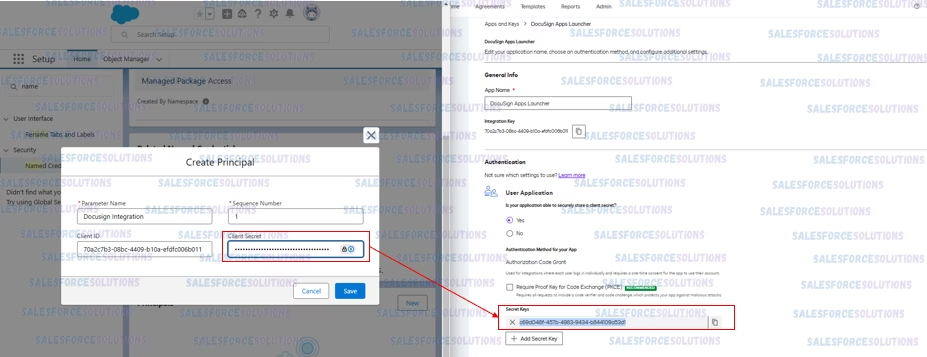
9. Now, click on ‘Add Secret Key.’ Next, copy the value and paste it into the ‘Client Secret’ input in the Create Principal Modal on your Salesforce tab. Once you finish, click on ‘Save.’
10. Then, select the ‘Named Credential’ tab and click on the ‘new’ button.
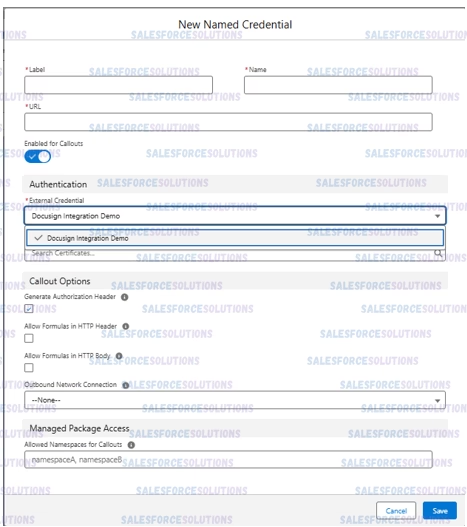
11. First, on the ‘External Credentials’, select the one we have previously created. Then:
– Label and Name: enter whatever you like.
– URL: https://account-d.docusign.com/oauth/token
– Enabled for callouts: True
– Generate Authorization Headers: True.
– Allow Formulas in HTTP Headers: True
– Allow Formulas in HTTP Body: True.
the URL= https://account-d.docusign.com/oauth/token <= only if your DocuSign environment is a development sandbox, if its Production, use https://account.docusign.com/oauth/token.
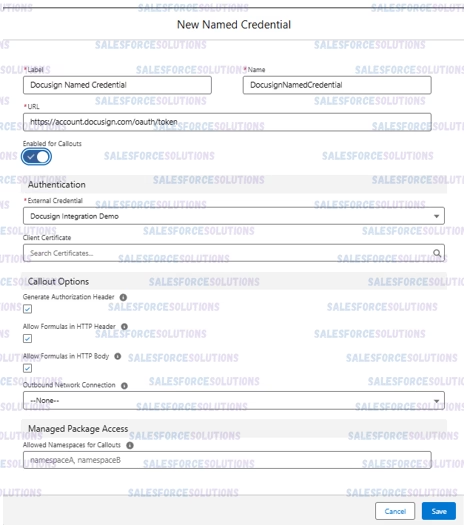
12. Your final screen should resemble the one below. When you are ready, click on ‘Save.’
13.Now, type ‘Connection’ (or ‘conn’) in the quick find search box, and then click on ‘Connected App OAuth Usage.’ After you do that, you will see the following screen. From there, proceed by clicking ‘Install’ on the ‘DocuSign Connect for Salesforce’ row.
14. Once you click on ‘Install’ as instructed on the previous screen, you’ll see the following confirmation screen. Click on ‘Install’

Some Documentation References:
DocuSign eSignature on Salesforce
Getting Started With DocuSign eSignature for Salesforce