Objective: We’ll be implementing a dynamic button to trigger DocuSign send out, which will be visible in the record’s detail page.
- First, create a lookup field in the object that will serve as the data source for your DocuSign Documents. You can name the field as you wish; however, ensure that you relate it to the ‘DocuSign Envelope Template’ object.
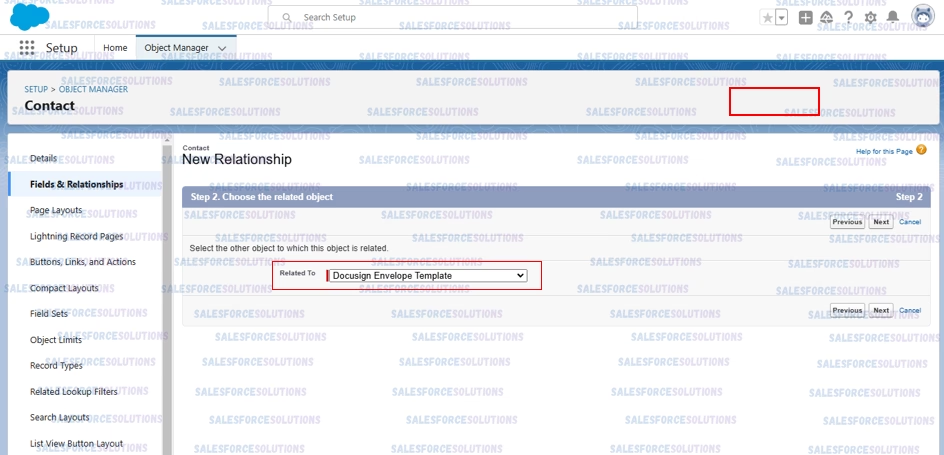
2. Now, edit your object’s page layout to enable an easy and friendly selection of the template. You can also automate the population of the field if you have a defined criterion; however, we will not cover that option here since it exceeds the scope of this article.
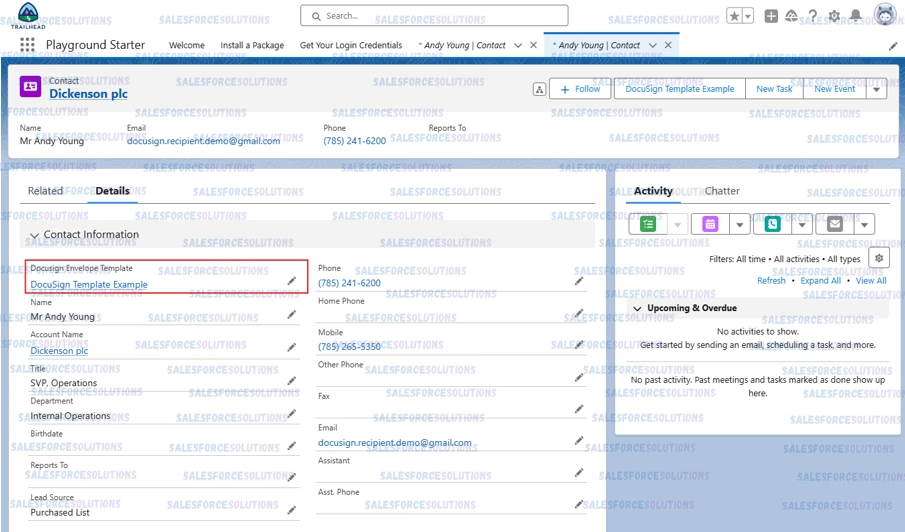
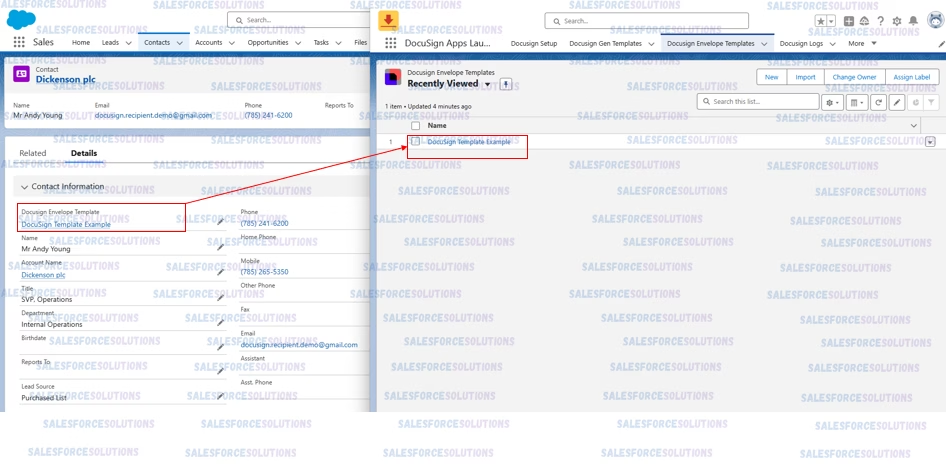
3. In the following screenshot, we want to make sure to clearly illustrate the reference from our newly created field to the ‘DocuSign Envelope Template’ object’s records.
4. Next, open the object in the Object Manager where you want to associate the DocuSign documents. Next, navigate to the ‘Object, Links and Actions’ tab and click on ‘New Button or Link.’ After that, on the ‘New Button or Link’ page, set the following values:
- Label or Name: Set a meaningful label for your action, the name will be auto/populated.
- Display Type: Detail page Button.
- Behavior: Display in existing windows without sidebar o header.
- Content Source: URL
- In the formula area, enter:
{
 !URLFOR('/apex/dfsle__sending', null, [sId = Contact.Id, sendingExperience = 'send', isEmbedded = false, templateId = Contact.Docusign_Envelope_TemplateId__c , recordId = Contact.Id, title = 'Send With Docusign'])
}
The result should reflect similar, to:

5. Now, let’s break down the formula a bit (so you can actually re-use it):
- The first 2 values (
'/apex/dfsle__sending', null) in the URL (the function that helps create the actual clickable link) must remain exactly as they are since DocuSign requires these defaults. - Then, the values inside the brackets:
sId = Contact.Id=> Id reference of the object (its record) that serves as a source for your Documents.sendingExperience = 'send'=> This is a default value, so the sender is able to simply ‘click’, without needing to enter the document or receipt.isEmbedded = false=> This should also remain the same.templateId = Contact.Docusign_Envelope_TemplateId__c=> This is the reference to the Id of the docuSign template associated to the object (its record) that serves as a source for your Documents.recordId = Contact.Id,Id reference of the object (its record) that serves as a source for your Documents. Note: This is the record/object to which the final/signed document, should be associated.title = 'Send With Docusign'=> The label you would like on the action button.
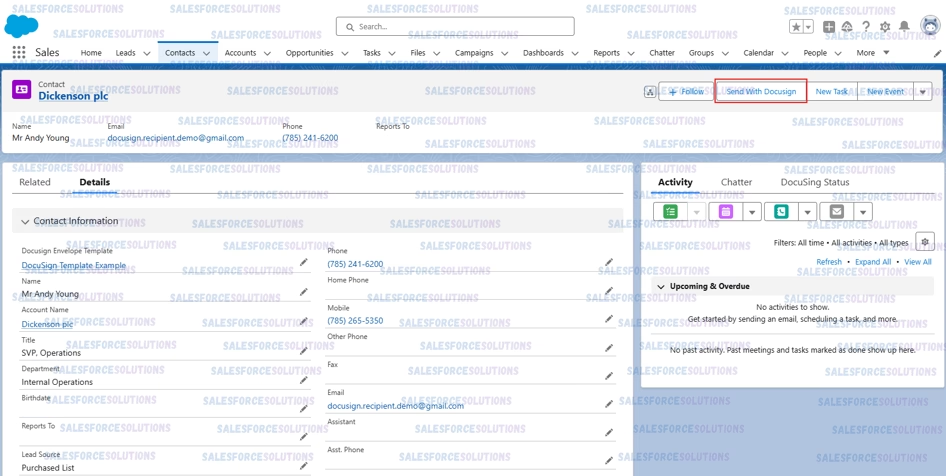
Finally, your action should look similar to the one on the screenshot. If it does, click on the ‘Save’ button and place the button on your record page. On the following screenshot, you can see where we have placed the action button.
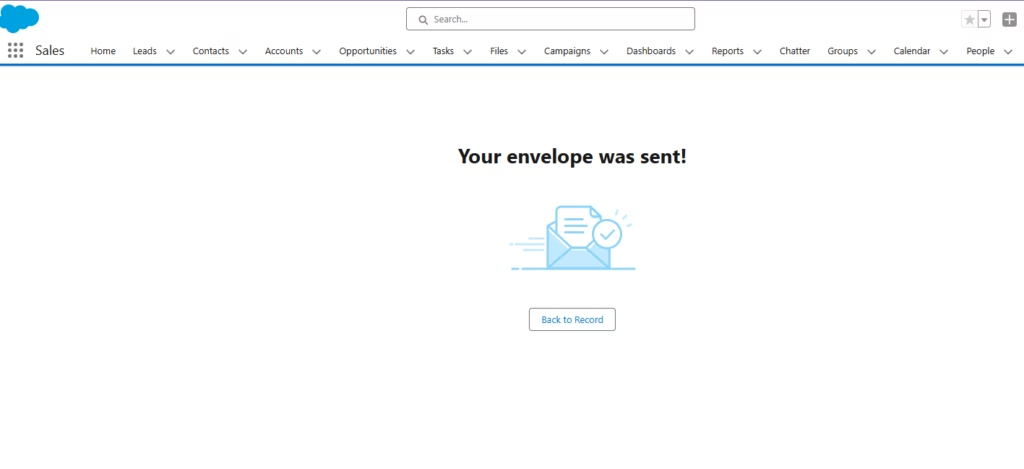
7. If you click on the button, you’ll see this confirmation screen, once the document has been send out.
8. And finally, this is what the recipient of the envelope will see (the red disclaimer applies only to envelopes generated on development environments).

Some References:
DocuSign eSignature on Salesforce
Getting Started With DocuSign eSignature for Salesforce