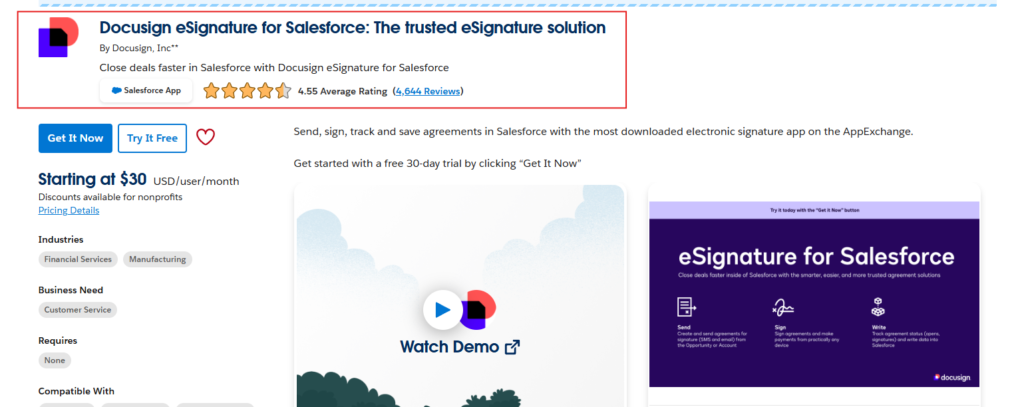
Heads Up: Our Salesforce <> DocuSign Integration solution is based on the DocuSign eSignature AppExchange package.
We are excited to introduce the Salesforce <> DocuSign: Step By Step Integration as one of our first end-to-end published functionalities. We will release it in several phases to ensure we deliver top-quality articles. Furthermore, this approach gives you the opportunity to ask questions and follow along effectively.
Connecting Salesforce To DocuSign
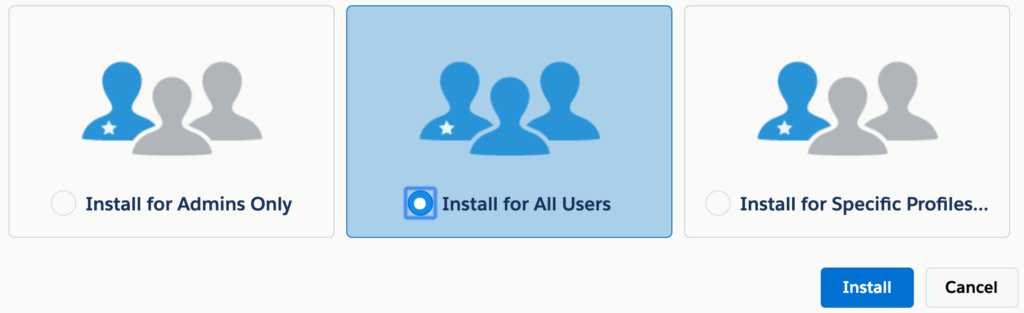
- Installing the eSignature Package: we strongly advice you to ‘install for all users’, you should not worry when choosing this option, real access depends on having specific permissions assigned to users (we’ll get there).
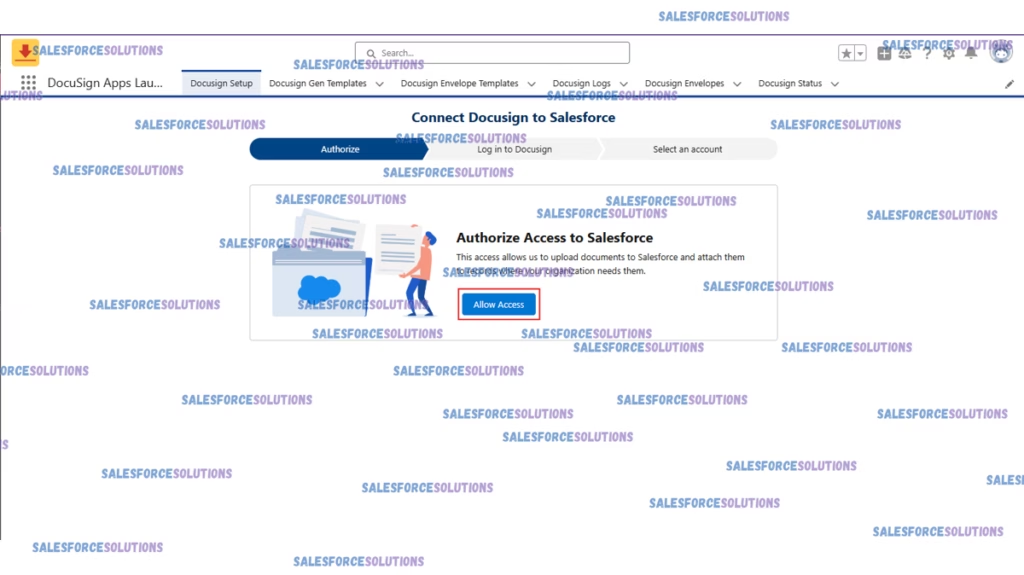
2. Authorize access to DocuSign on Salesforce: Once you’ve installed the package, you need to set the connection. In order to do it, go to the DocuSign App Launcher (1),once in the App, select the Docusign SetUp Tab (2) and click on the ‘Allow Access’ Button (3).
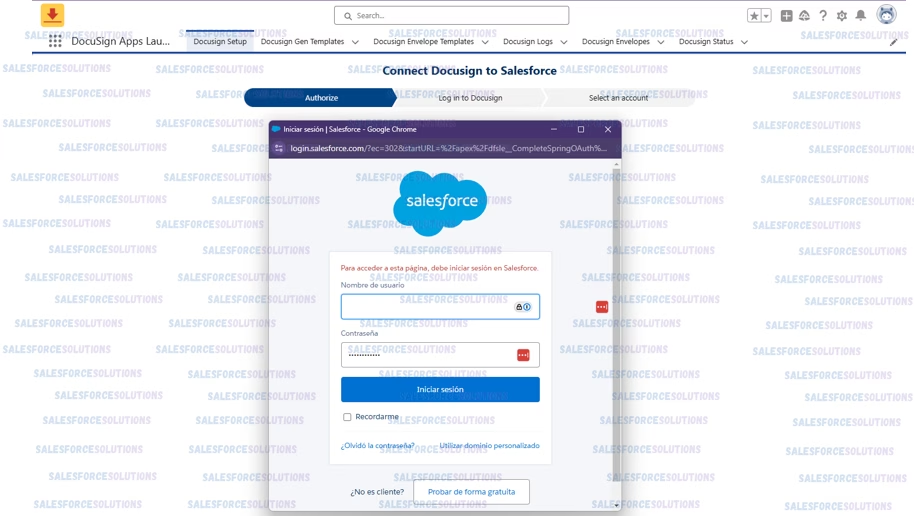
3. Enter your Salesforce Credentials: Creds to enter, will depend on the environment you currently are.
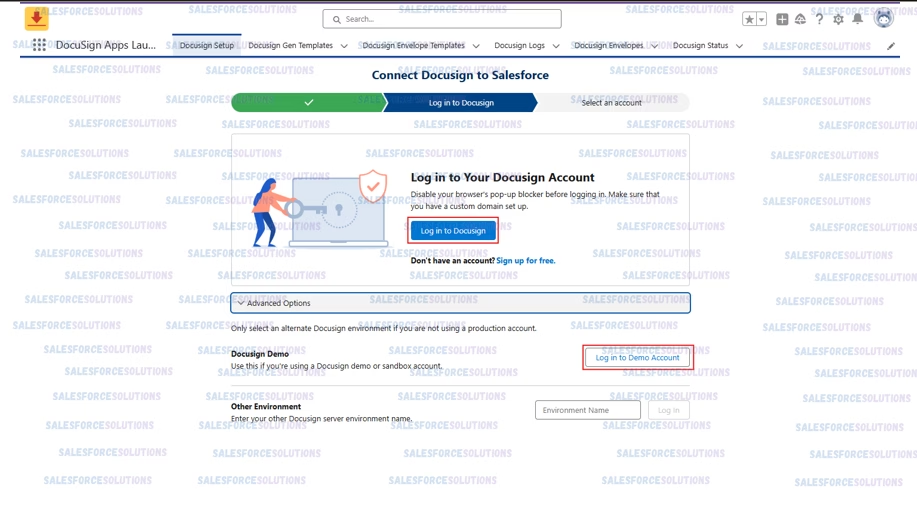
4. Select The DocuSign Environment: Once you authorize the connection (previous step), you’ll need to select the DocuSign Environment you want to connect (is best if the Salesforce user executing this step, is the same on DocuSign and has Administrator permissions on both).
Please pay attention here: If you are installing/setting up in a NON-PROD environment, you need to click on ‘Advanced Options’ in order to access DocuSign’s Sandbox/Demo Environments.
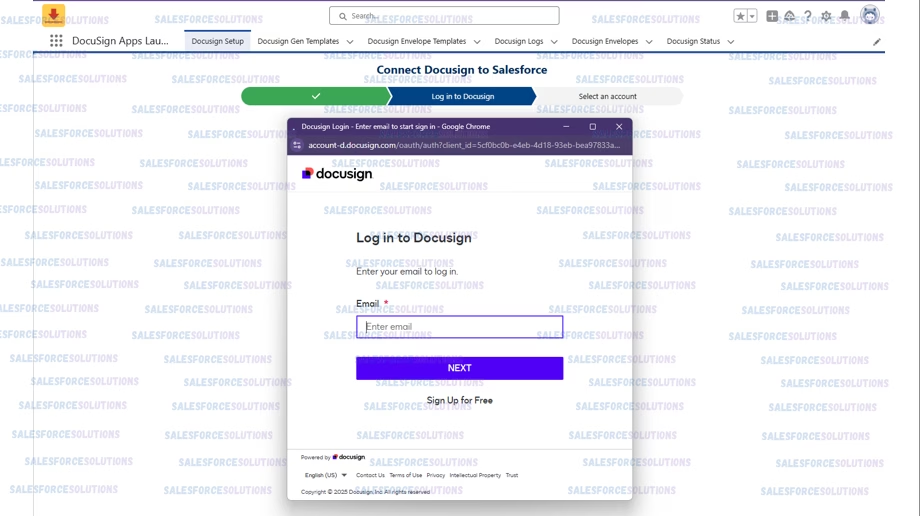
5. Enter your DocuSign Credentials for the environment to connect.
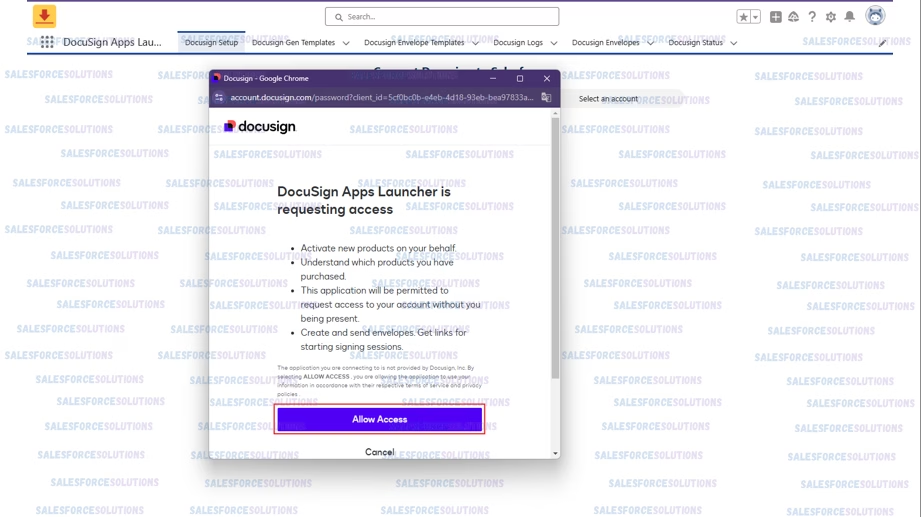
6. Grant DocuSign Permission so it can have access/connect to your Salesforce Environment.
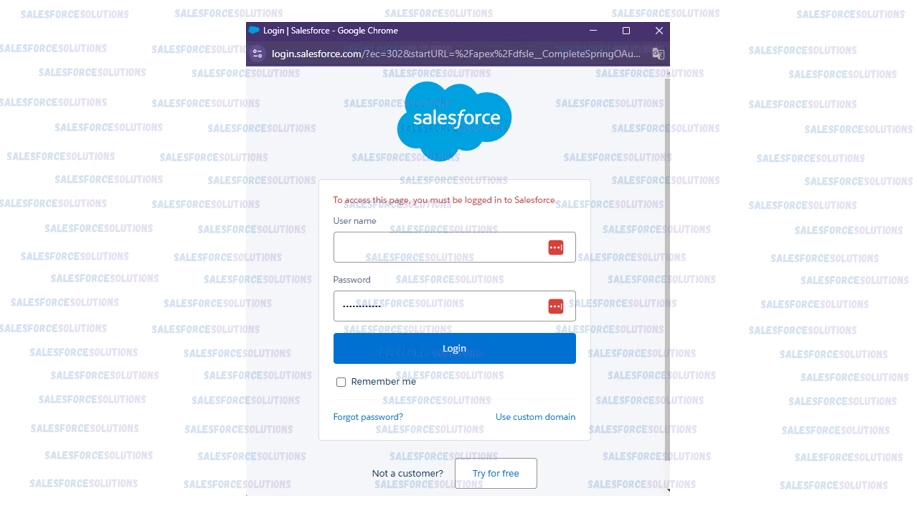
7. Re-enter Salesforce’s Environment credentials [yes, again] in order to confirm.
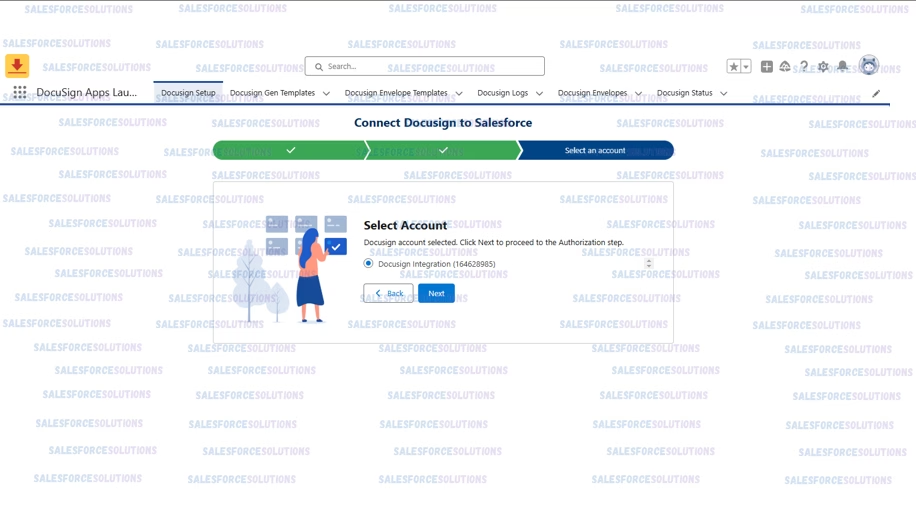
8. Finally, select/Confirm the DocuSign Account, to which the connection is established.
Some References:
DocuSign eSignature on Salesforce
Getting Started With DocuSign eSignature for Salesforce