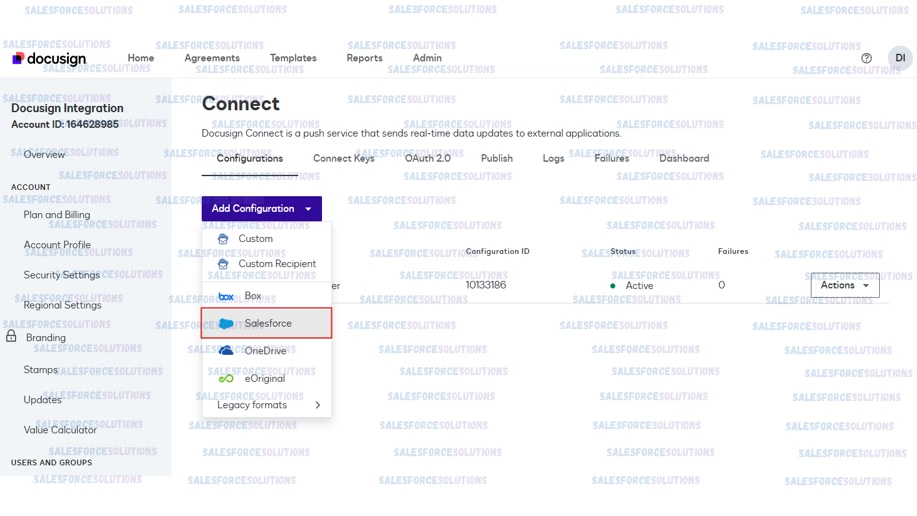
- While you are still on the ‘Connect’ tab, click on the ‘Add Configuration’, and select ‘Salesforce’.
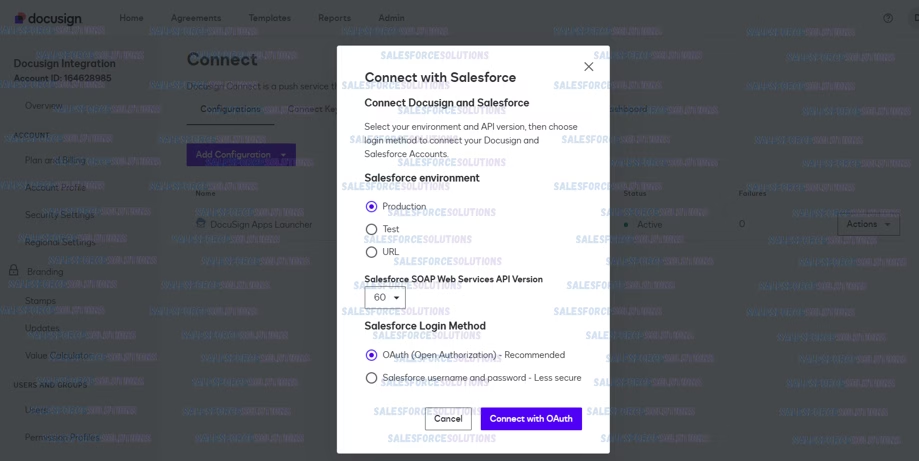
2. A modal will appear, where you need to select:
– Salesforce Environment to connect: credentials for a Production, Test (a Sandbox) or a custom URL.
– Salesforce’s API version: if not sure, use the 60, and finally select the login method (leave it in OAuth).
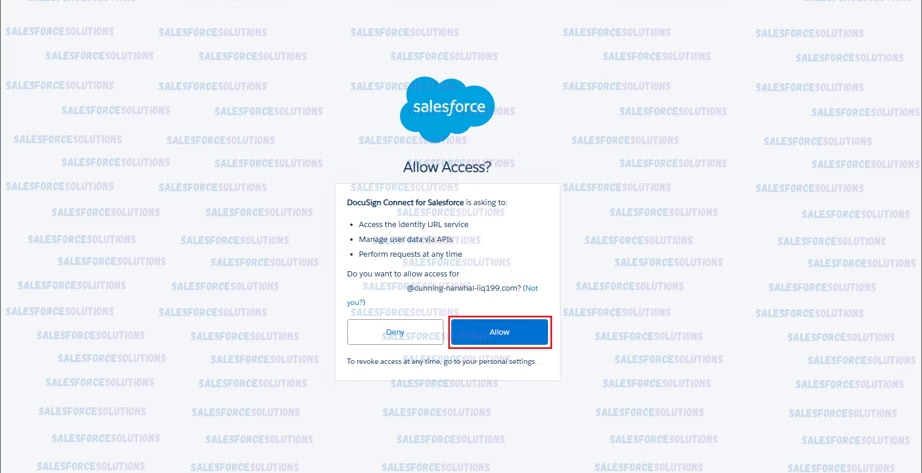
3. You’ll be requested to enter your Salesforce’s credentials one more time and ‘Allow‘ connection to ‘DocuSign Connect to Salesforce’.
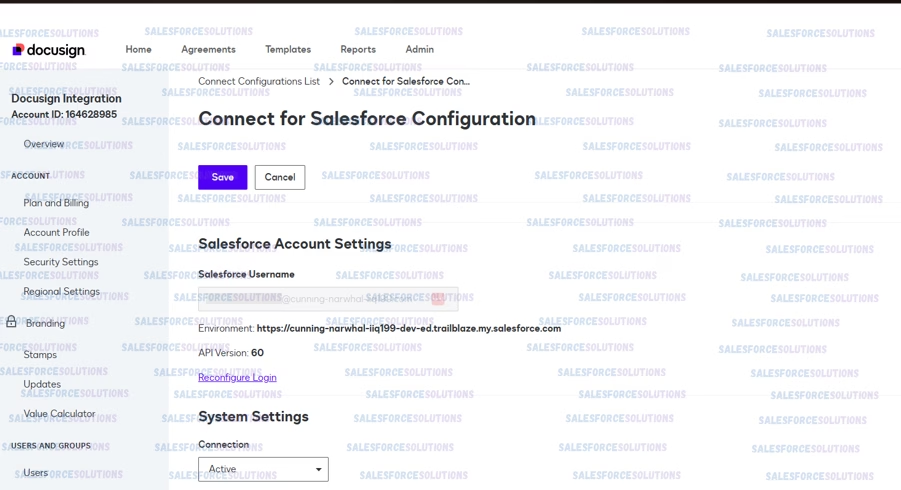
4. Once you allow the connection, the following configuration screen will appear:
5. Scroll down, to make sure you validate the default settings meet your needs. If you want anyone to be able to send envelopes from your Salesforce Org, select ‘All Users’ on the Associated Users.
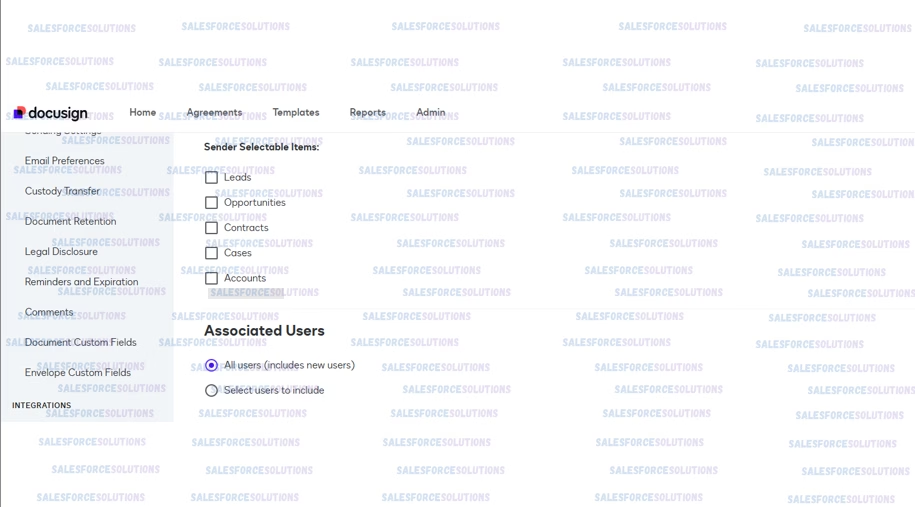
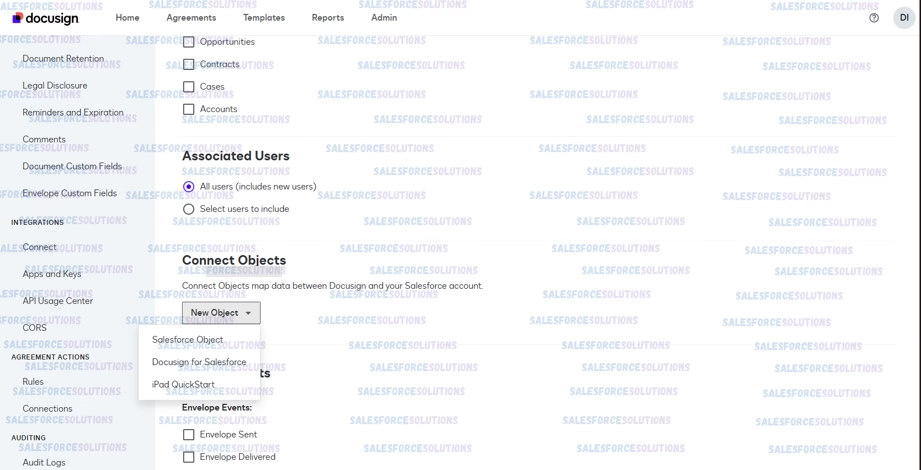
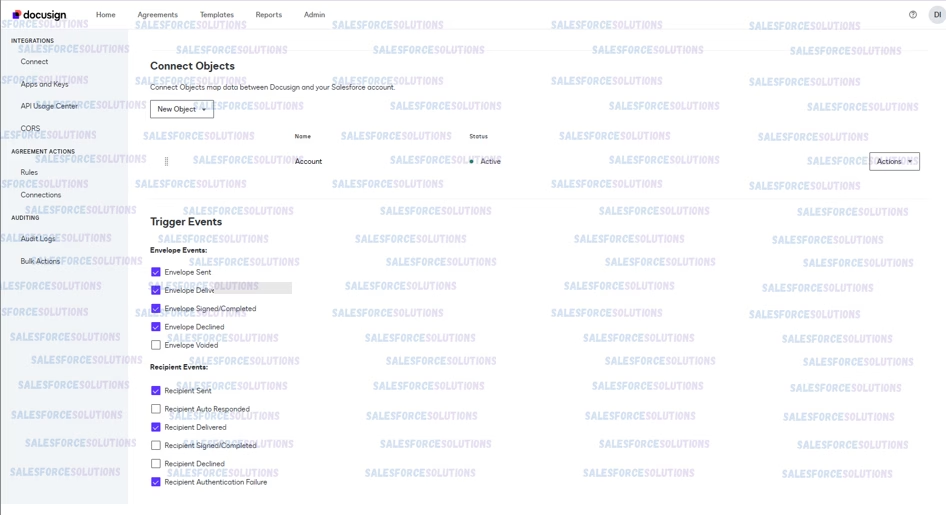
6. Now, on the ‘Connected Objects’, select ‘Salesforce Object’.
7. Make sure to Set your object as ‘Active’, add a proper label and description.

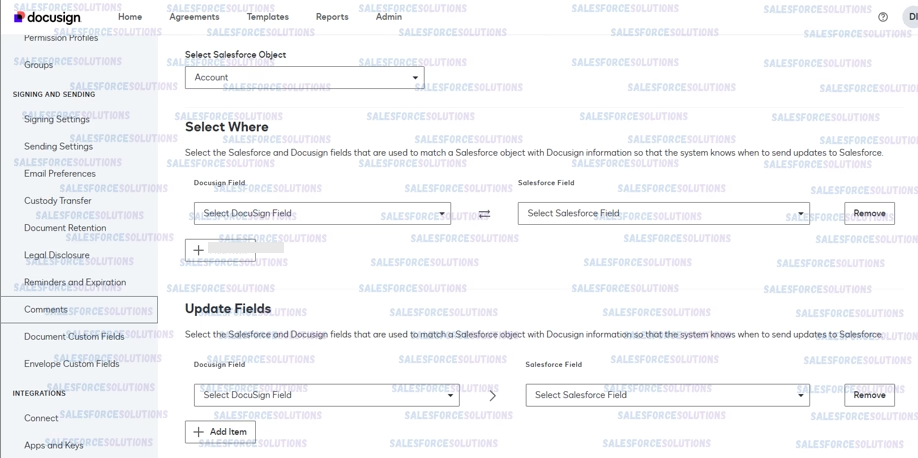
8. You’ll now be able to set in DocuSign, the object from which the data is pulled.

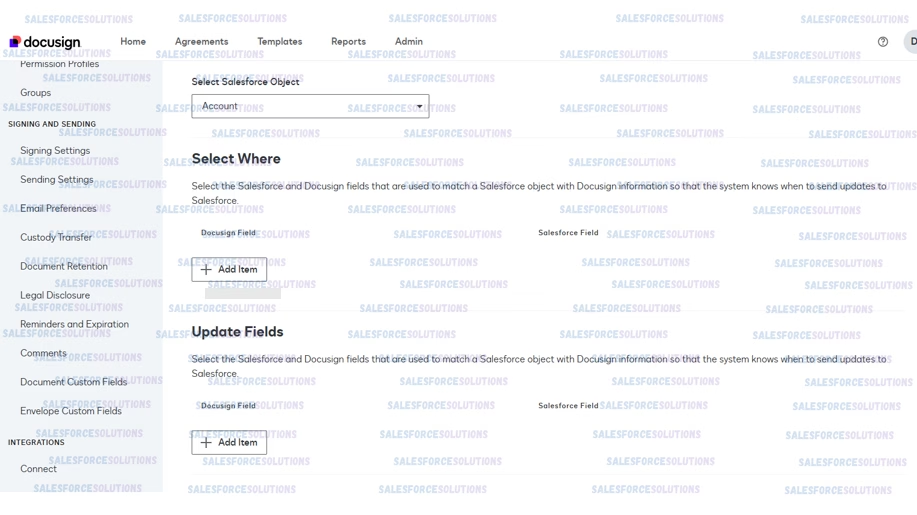
9. If you don’t have or need any specific query criteria, make sure to click on ‘Remove‘ on the Select Where and Update Fields sections.
10. Once you have clicked ‘Remove’ on the sections mentioned above, your screen should look as follows:
11. Scrolling down, you’ll see the options available for Attachments. Select the ones you see relevant for your use case:
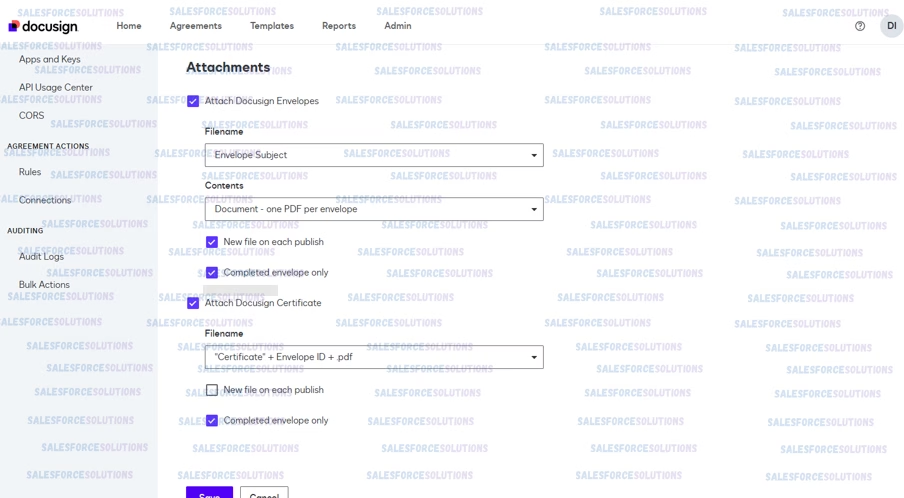
12. Finally, you’ll see the options to trigger events, where you can also choose the ones fitting your use case. Once you have checked the Events you need, click on ‘Save‘
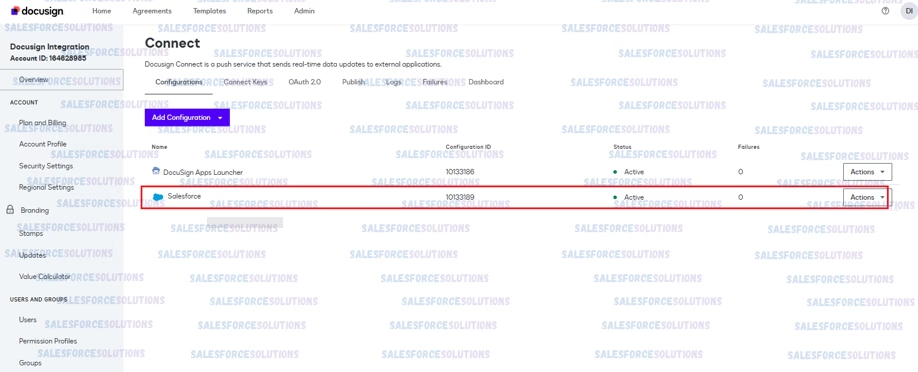
13. Finally, you’ll now see the following connection on your ‘DocuSign’ Connect section:
Some Documentation References:
DocuSign eSignature on Salesforce
Getting Started With DocuSign eSignature for Salesforce